
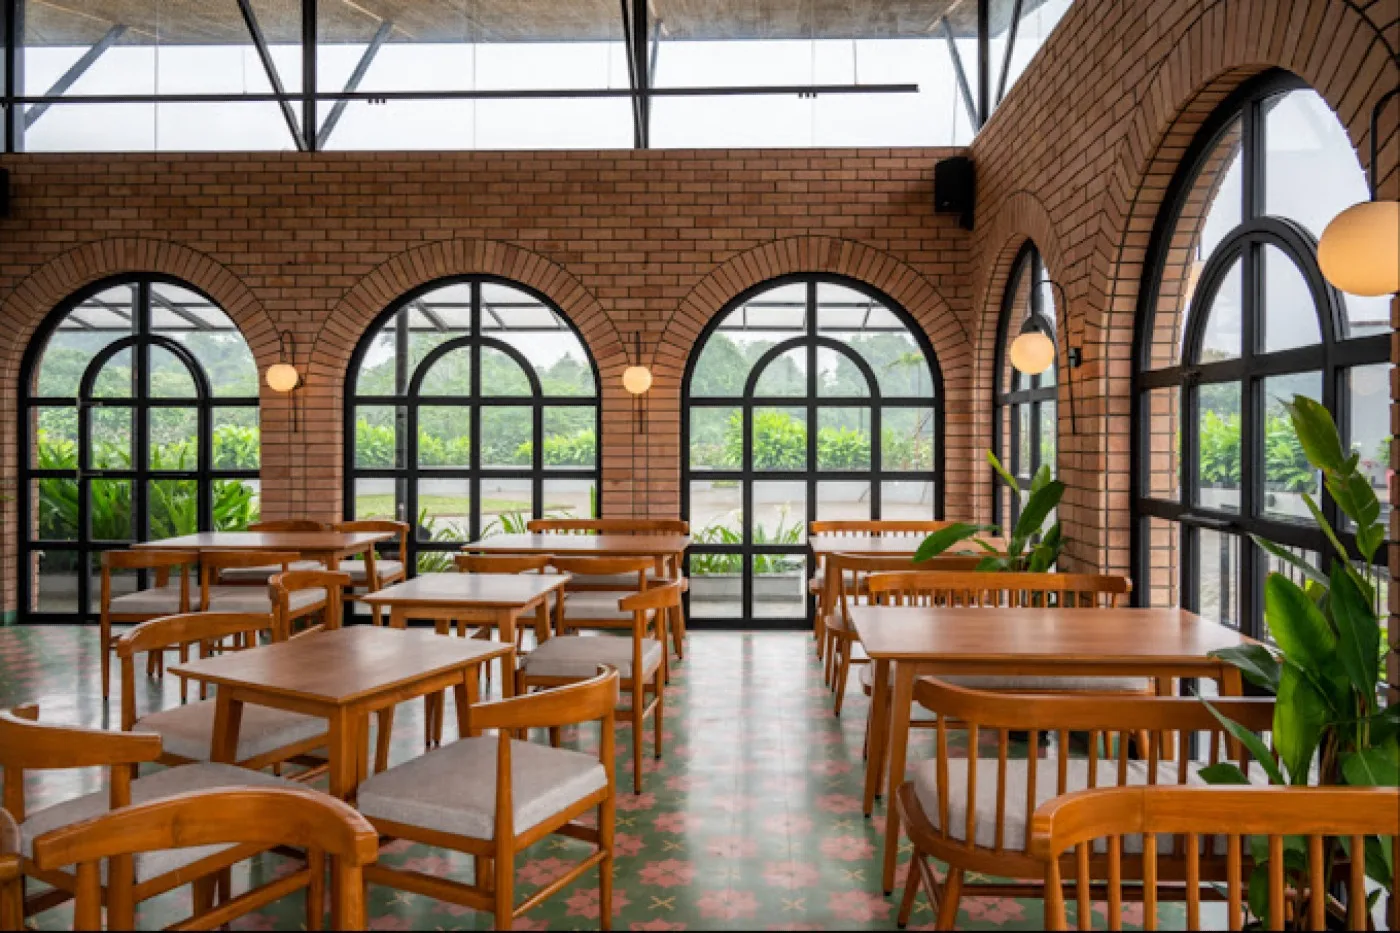
Heritage Bricks helps homeowners, builders, and designers explore brick and cladding options for creating attractive interior and exterior spaces. Brick cladding tiles are a popular choice for adding the natural appearance and texture of brick to walls without constructing a full-thickness brick wall. Whether you are upgrading a living room, designing an exterior feature wall, or enhancing a commercial space, understanding how to install brick cladding tiles correctly helps achieve a neat finish, strong adhesion, and long-lasting performance.
What Are Brick Cladding Tiles?
Brick cladding tiles are thin brick-style facing materials installed over a suitable wall surface to create the appearance of exposed brickwork. They are commonly used for living room feature walls, bedroom interiors, office spaces, restaurant walls, exterior elevations, and decorative architectural features.
Depending on the product, brick cladding tiles may be made from clay, manufactured masonry materials, or other suitable materials designed to replicate the appearance of traditional brick.
Before installation, check the product specifications to confirm whether the tiles are suitable for interior use, exterior use, or both.
Materials and Tools Required for Brick Cladding Installation
Preparing the required materials and tools before starting helps make the installation process more efficient.
Materials:
- Brick cladding tiles
- Suitable tile adhesive or manufacturer-recommended bonding mortar
- Grout or pointing mortar compatible with the tiles
- Primer, if required for the substrate
- Spacers, if specified for the chosen product
- Suitable sealant, only if recommended for the application
Tools:
- Measuring tape
- Spirit level
- Pencil and chalk line
- Notched trowel
- Mixing bucket and mixing tool
- Tile cutter or suitable masonry cutting equipment
- Rubber mallet, if appropriate for the product
- Grout bag or pointing tool
- Sponge and cleaning cloth
- Personal protective equipment, including safety glasses, gloves, and a dust mask for cutting
The exact materials and tools depend on the cladding type, wall surface, and installation method recommended by the manufacturer.
How to Install Brick Cladding Tiles: Step-by-Step
Step 1: Prepare the Wall Surface
The first step is to prepare the wall properly. The surface should be structurally sound, clean, dry, and free from dust, grease, loose paint, and other materials that could interfere with adhesion.
Repair cracks, remove loose finishes, and address any dampness or water leakage before installation. If the wall is painted, check whether the paint and underlying surface are suitable for the selected adhesive system.
For exterior installations or heavy cladding, confirm that the wall can support the additional load and that the installation method is appropriate for the substrate.
Step 2: Measure the Wall Area
Measure the height and width of the wall to calculate the total surface area.
Formula:
Wall area = Wall height × Wall width
Deduct the area of doors, windows, and other openings that will not receive cladding.
Purchase enough tiles to cover the calculated area, including an appropriate allowance for cutting, breakage, and pattern matching. The allowance depends on the tile shape and the complexity of the wall.
Step 3: Plan the Tile Layout
Before applying adhesive, arrange a few tiles on the floor or mark a layout on the wall. This helps you decide the starting point, joint spacing, and alignment.
For a traditional brick appearance, a staggered running-bond pattern is commonly used. Other patterns may be suitable depending on the product and design.
Plan the layout to minimise narrow cuts at corners and edges. Use a spirit level and chalk lines to establish straight reference lines, particularly when working across a large wall.
Step 4: Prepare the Adhesive
Choose an adhesive or bonding mortar specifically recommended for the cladding material and wall substrate.
Mix the product according to the manufacturer's instructions, including the specified water ratio, mixing method, and resting time if required. Do not add extra water or other materials unless the instructions permit it.
Prepare only the quantity that can be applied within the adhesive's working time.
Step 5: Apply Adhesive to the Wall
Spread the adhesive over a manageable section of the prepared wall using the recommended trowel.
Create an even adhesive bed with the appropriate trowel notch size. Follow the manufacturer's instructions regarding adhesive coverage and whether adhesive should also be applied to the back of each tile.
Avoid covering too much wall at once, as the adhesive may begin to dry before the tiles are placed.
Step 6: Fix the Brick Cladding Tiles
Place the first tile along the reference line and press it firmly into the adhesive using the installation method specified for the product.
Continue placing tiles in the planned pattern, checking the alignment and spacing regularly. Use spacers if required by the chosen system.
Remove excess adhesive from the tile faces and joints before it hardens. Check the surface periodically with a spirit level to maintain a consistent finish.
Step 7: Cut Tiles for Corners and Edges
Measure the remaining spaces carefully and mark the tiles before cutting. Use a suitable tile cutter or masonry cutting tool designed for the material.
Wear appropriate eye and respiratory protection, and control dust during cutting. Follow the tool manufacturer's safety instructions.
Fit the cut tiles into the remaining spaces and check that the edges, corners, and openings appear neat and consistent.
Step 8: Allow the Adhesive to Cure
Once all tiles are installed, allow the adhesive to cure for the time specified by the manufacturer.
Avoid disturbing the tiles during curing. Do not begin grouting or pointing until the adhesive has reached the stage recommended by the product instructions.
Temperature, humidity, substrate conditions, and adhesive type can affect curing time.
Step 9: Fill the Joints
When the adhesive has cured sufficiently, fill the joints using a compatible grout or pointing mortar recommended for the cladding system.
Apply the jointing material carefully to achieve the desired appearance and avoid unnecessary residue on the tile faces. Shape the joints consistently using the appropriate pointing tool.
Follow the product instructions for joint depth, application, finishing, and curing. Some cladding products use a different jointing method, so check the installation guide before proceeding.
Step 10: Clean and Inspect the Finished Wall
Remove excess grout or mortar using the recommended cleaning method. Avoid harsh chemicals or excessive water that could stain or damage the tiles.
After the installation has cured, inspect the wall for uneven joints, loose tiles, visible adhesive, and unfinished edges.
For exterior applications, verify that the installation includes the required weatherproofing, flashing, drainage, and movement-joint details for the specific wall system.
Important Tips for Successful Brick Cladding Installation
- Choose the correct adhesive: The adhesive must be compatible with the cladding material and substrate.
- Check the wall condition: Do not install tiles over damp, unstable, or poorly bonded surfaces.
- Maintain consistent spacing: Uniform joints help create a professional finish.
- Follow the product instructions: Installation requirements differ across tile materials and systems.
- Plan cuts in advance: Good layout planning reduces unnecessary waste and improves the appearance of corners.
- Consider exterior exposure: Outdoor walls may require additional weatherproofing and a tested installation system.
- Use suitable safety equipment: Tile and masonry cutting can produce hazardous dust and sharp fragments.
Common Mistakes to Avoid When Installing Brick Cladding Tiles
Installing on an Unsuitable Surface
Loose plaster, flaking paint, dust, and moisture can weaken the bond. Prepare and assess the substrate before beginning.
Using the Wrong Adhesive
Not every tile adhesive is suitable for every cladding product. Select a product recommended for the tile material, wall type, and installation environment.
Ignoring Alignment and Joint Spacing
Uneven reference lines or inconsistent spacing can make the finished wall look untidy. Check alignment throughout installation instead of correcting everything at the end.
Applying Too Much Adhesive at Once
Adhesive may form a surface skin if left exposed for too long. Work in small sections and observe the specified open time.
Skipping Exterior Installation Requirements
Exterior cladding must withstand the conditions for which it is designed. Incorrect fixing, poor water management, or unsuitable materials can cause tiles to detach or allow moisture-related damage.
For large exterior walls, elevated installations, or heavy cladding, use a qualified installer and an approved fixing system.
How Much Does Brick Cladding Installation Cost?
The cost of installing brick cladding tiles depends on several factors, including:
- The type and price of the cladding tiles
- Total wall area
- Surface preparation and repair requirements
- Adhesive, grout, and other installation materials
- Labour charges
- Cutting requirements and design complexity
- Interior or exterior installation conditions
- Scaffolding, access, and additional fixing requirements
For an initial budget, calculate the wall area and estimate the required quantity of tiles, adhesive, grout, and labour separately. Obtain current product prices and installation quotations for your location rather than relying on a fixed price per square foot.
Frequently Asked Questions About Brick Cladding Tiles
1. Can brick cladding tiles be installed on existing walls?
Yes, brick cladding tiles can be installed on suitable existing walls if the substrate is sound, stable, clean, and compatible with the chosen adhesive or fixing system. The existing finish may need to be removed or prepared first.
2. Can brick cladding tiles be used outdoors?
Some brick cladding products are designed for exterior applications, while others are intended only for interiors. Check the manufacturer's specifications for weather resistance, fixing requirements, and suitability for the intended location.
3. Do brick cladding tiles require grout?
Many brick cladding systems use grout or pointing mortar between tiles. However, jointing requirements vary by product, so follow the manufacturer's installation instructions.
4. How long does brick cladding installation take?
The installation time depends on the wall area, tile size, layout, substrate preparation, cutting requirements, and curing periods. Small feature walls may take less time than large or complex installations.
5. Can I install brick cladding tiles myself?
A small interior feature wall may be suitable for someone with the necessary DIY skills, tools, and understanding of the product instructions. Exterior walls, high-level installations, and heavy cladding require particular attention to structural suitability and secure fixing, so professional installation is recommended.
6. How do I maintain brick cladding tiles after installation?
Remove dust regularly and clean the surface using a method suitable for the tile material. Address water leakage promptly and avoid harsh chemicals unless approved by the manufacturer.
7. How do I calculate the number of cladding tiles required?
Calculate the net wall area after deducting openings. Divide the net area by the coverage area of one tile, then add an appropriate allowance for cutting and breakage. Use the manufacturer's stated coverage and account for the joint spacing specified for the product.
Explore Brick and Cladding Options with Heritage Bricks
When planning a brick cladding project, consider the intended application, tile dimensions, surface finish, installation method, and maintenance requirements. Selecting suitable materials before installation helps achieve a consistent appearance and supports long-term performance.
Visit Heritage Bricks to explore available brick and cladding options for your construction or renovation project.
Website: Heritage Bricks
Phone: +91 99402 75111
Head Office: No. 106-1A2, Sivabhootham Village, Vanagaram, Maduravoyal, Chennai, Tamil Nadu – 600095.
Related Posts
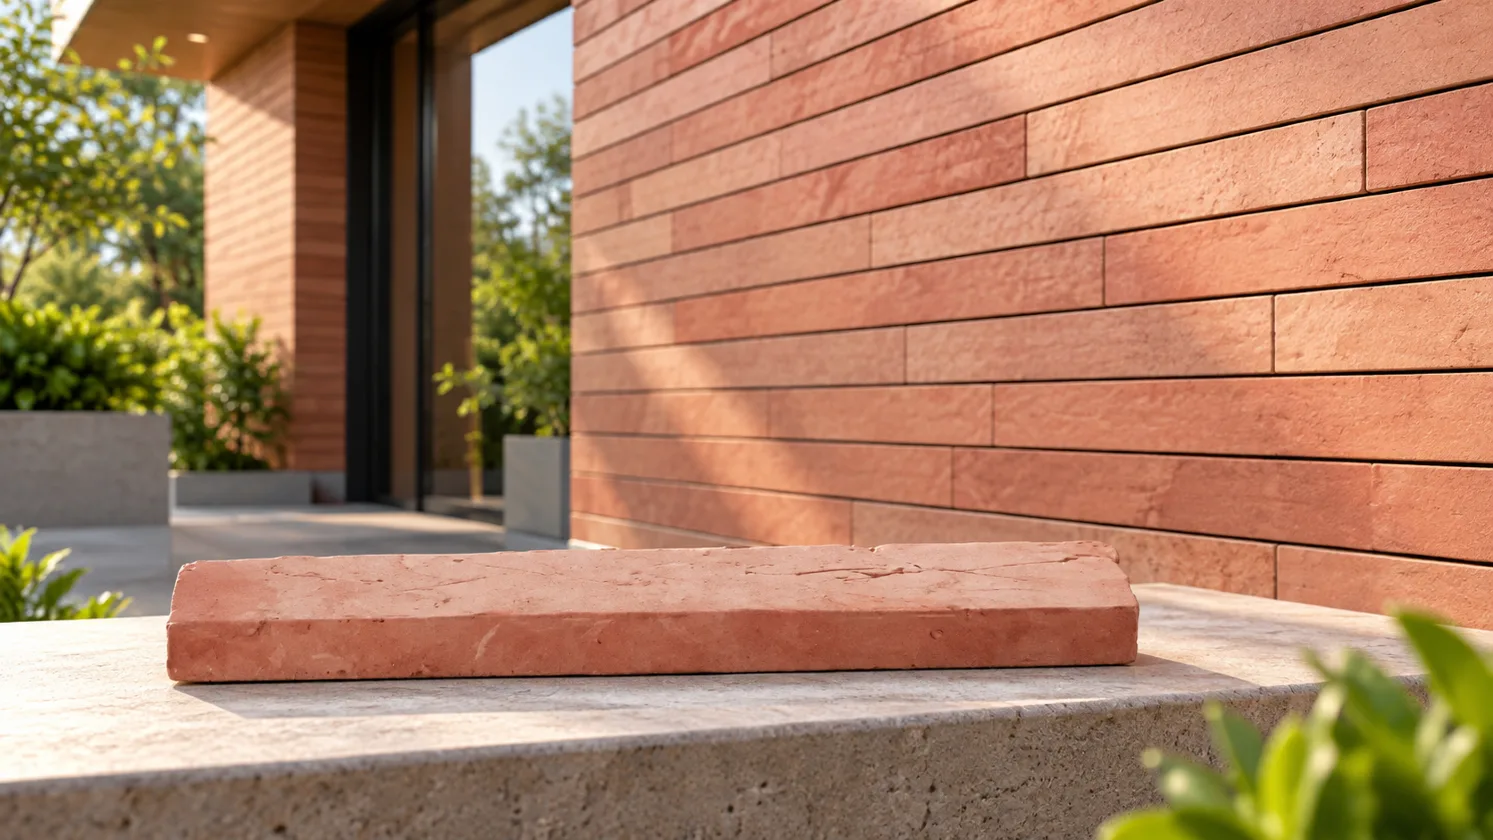
Top Linear Cladding Manufacturer in Bangalore, India – Heritage Bricks
Discover how linear brick cladding enhances modern homes, villas and commercial facades in Bangalore. Explore Heritage Bricks linear cladding colours, finishes, applications and design ideas for distinctive building exteriors.
Read More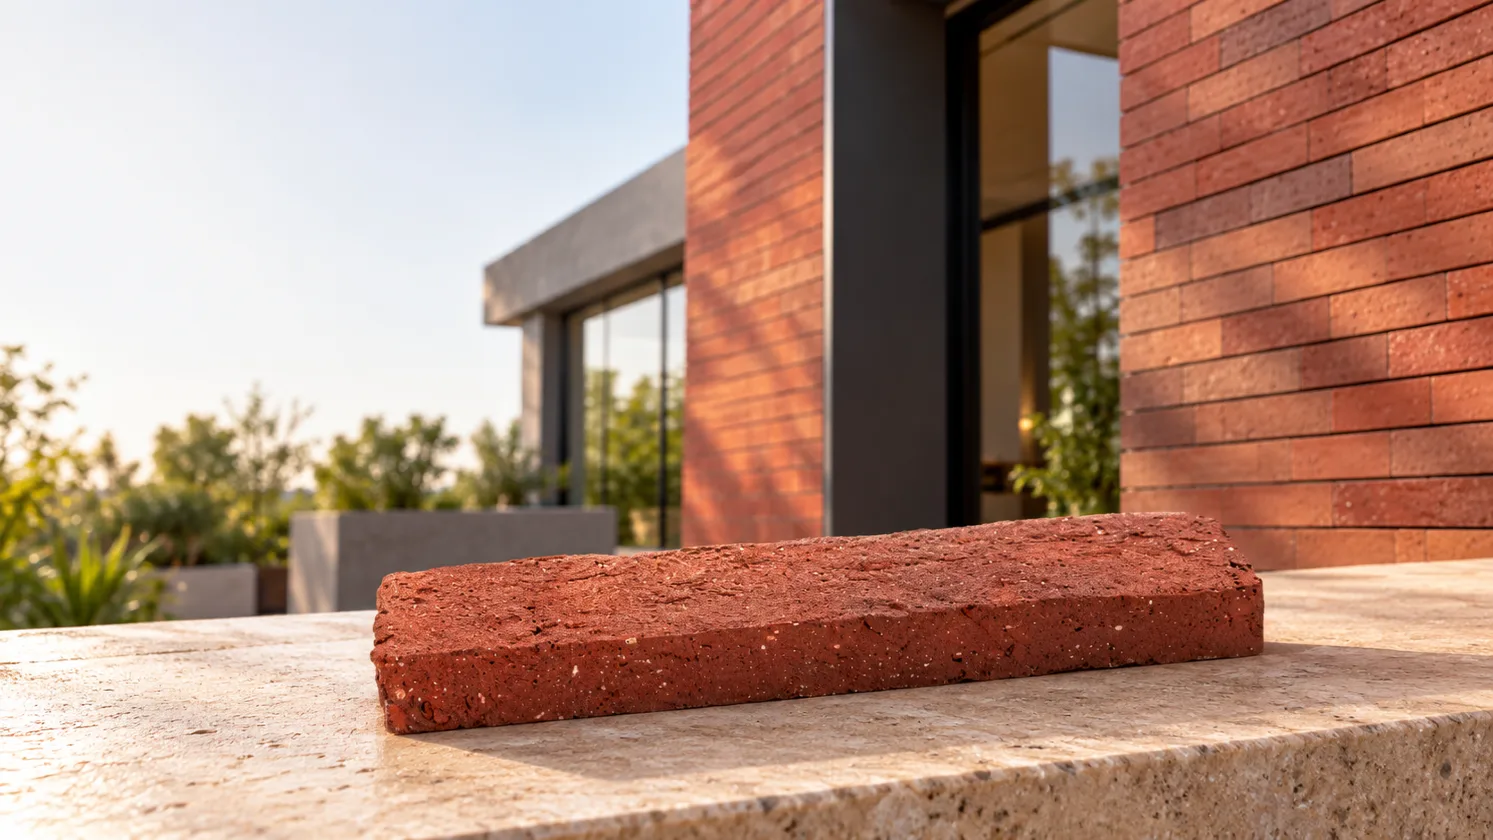
Top Brick Cladding Manufacturer in Bangalore, India – Heritage Bricks
Discover top brick cladding solutions for modern homes and commercial buildings in Bangalore. Explore exposed bricks, linear cladding, and architectural brick finishes from Heritage Bricks.
Read More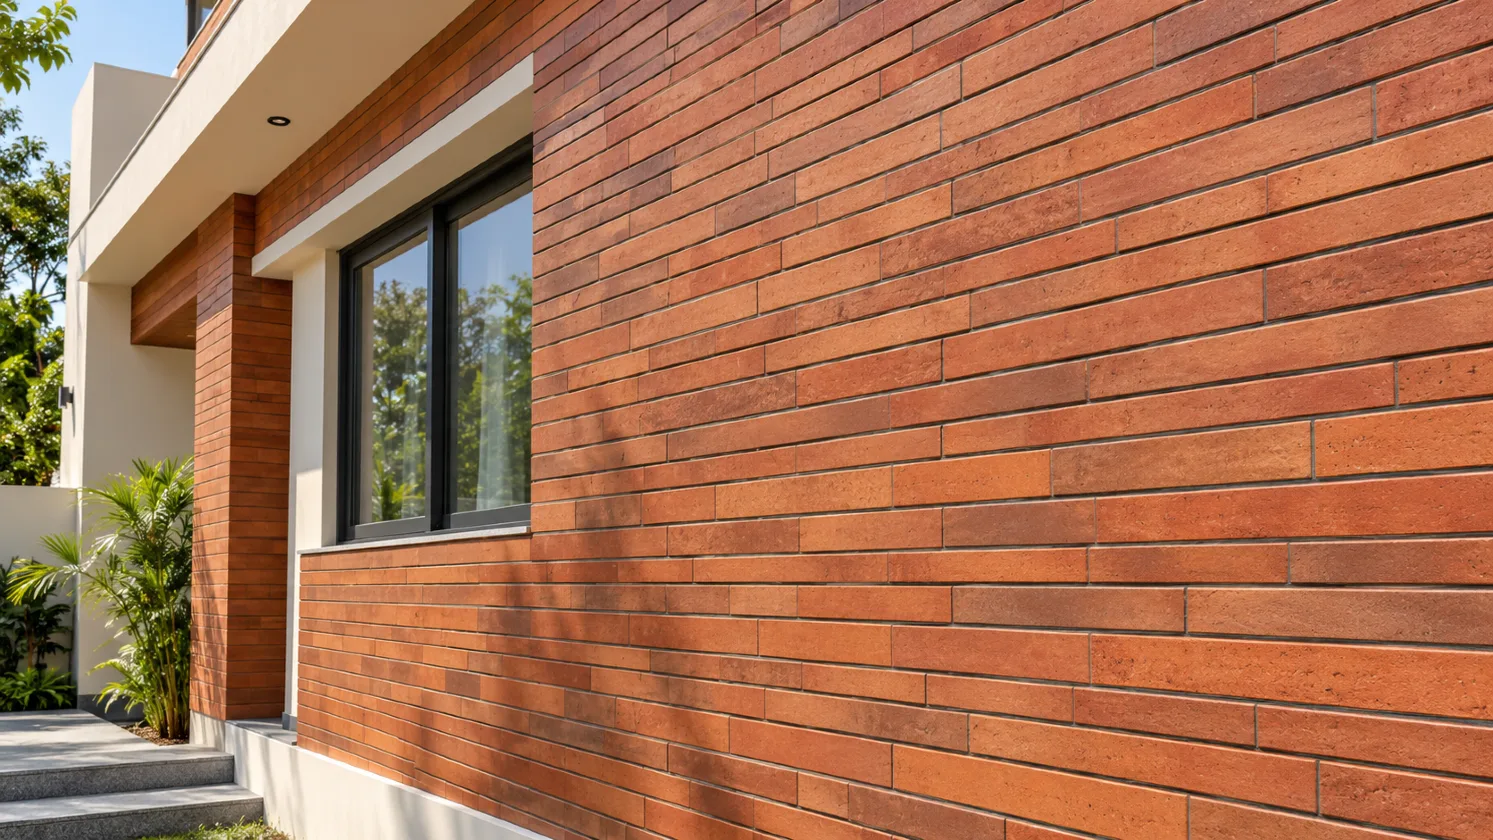
Transforming Chennai Building Exteriors with Long Format Brick Cladding
Discover how long format brick cladding transforms Chennai building exteriors with contemporary linear patterns, natural textures and versatile applications for homes and commercial spaces.
Read More